
Overview
When you start mediaEngine Express, its interface looks like this:
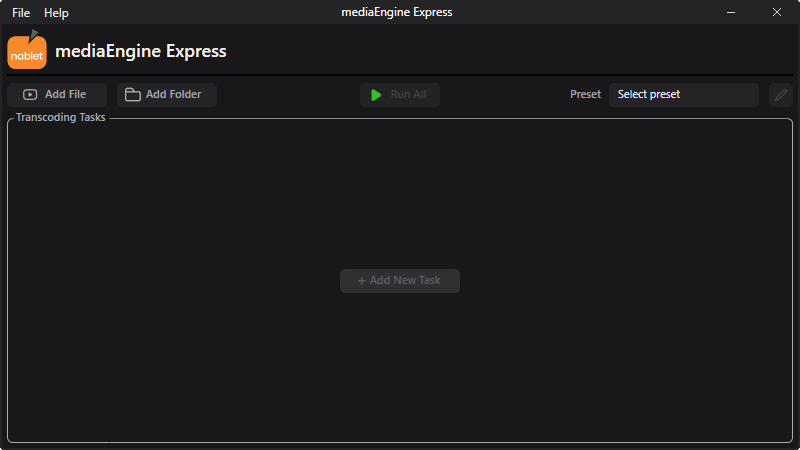
It includes a common menu, a panel to add new transcoding tasks for further processing, a panel to select transcoding presets, a list of transcoding tasks, and a panel for batch processing. All the parts are covered in this article.
Basic Workflow
There are 3 steps to transcode a file with mediaEngine Express:
- Add a task (select a file).
- Select transcoding preset.
- Start the task.
Adding new transcoding tasks
You can add a new task in several ways:
- When there are no tasks in a list, Add New Task button is available. Press the button to open a file dialog where you can select source files. Once there is any transcoding task added, the button is hidden.
- With Add File button, you can select more source files.
- With Add Folder button, you can select a folder from which the application uses all the files it can process.
- Drag-n-drop files from File Explorer.
- Ctrl+N keyboard shortcut to add a new file.
- Ctrl+F keyboard shortcut to add a new folder.
- File -> Add File menu item.
- File -> Add Folder menu item.
If mediaEngine Express can't process a selected file, it returns you a warning message.
When you select several tasks, the interface looks similar to this:
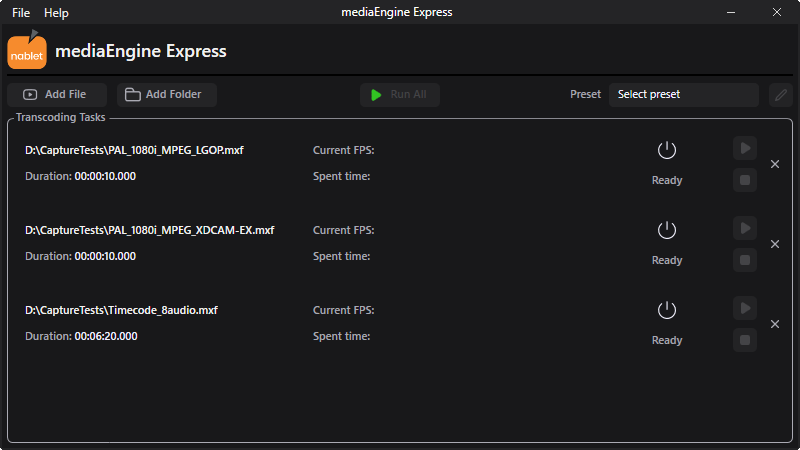
You can remove tasks with  button at the right of each transcoding task. To remove all the tasks, use File -> Remove All Tasks or use the Ctrl+X keyboard shortcut.
Choosing a Preset
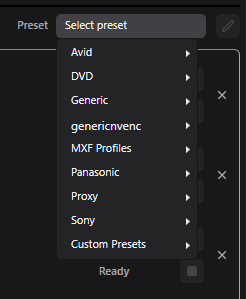
Open Select preset menu to see available groups of presets. The groups are based on pre-build presets provided with mediaEngine Express, and also you have a Custom group where you can find presets that you generate with Preset Editor:
Select a preset that fits your requirements:
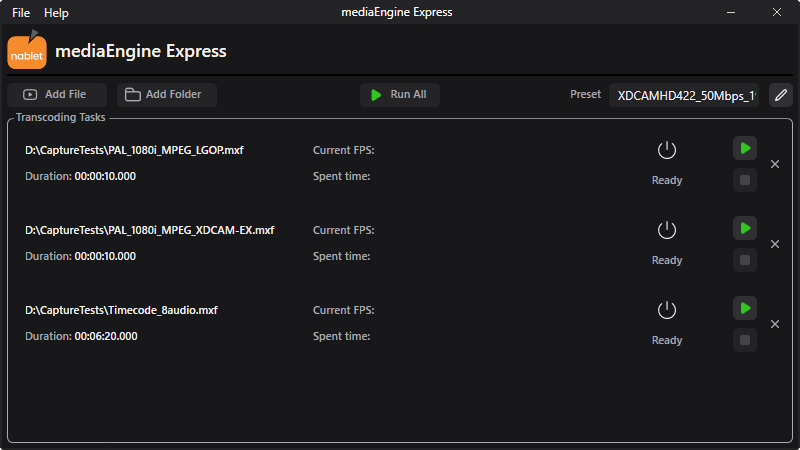
Now you are ready to transcode the source files.
Run Transcoding Tasks
Each transcoding task includes information about the file name, its duration, transcoding performance (Current FPS indicates transcoding speed, and Spent time indicates the actual duration of a transcoding process). The status reflects the task state. The control buttons (Run and Stop) perform control actions.
Note that a Preset must be selected so you can start any task.
When you click the  button, you should select a target file name. Once done, the task executes:
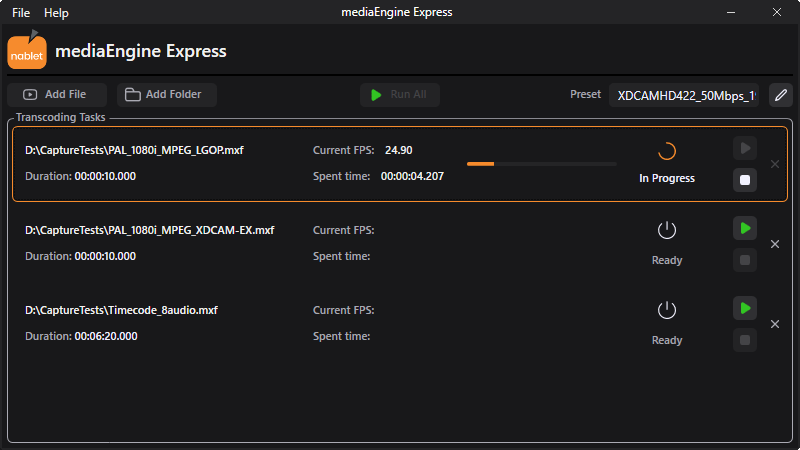
You can stop the process at any time with the Stop button.
Batch Processing
When you perform tasks one by one, you should set a target file name for each of the tasks. With batch processing, you should select the target folder, so the resulting files are auto-named in the following template:
sourceFileName + "_transcoded_" + current_date_time
For example, "PAL_1080i_MPEG_LGOP.mxf" results in "PAL_1080i_MPEG_LGOP_transcoded_2022_01_05_15_07_15.mxf"
To start batch processing, press the Run All button and select a target folder:
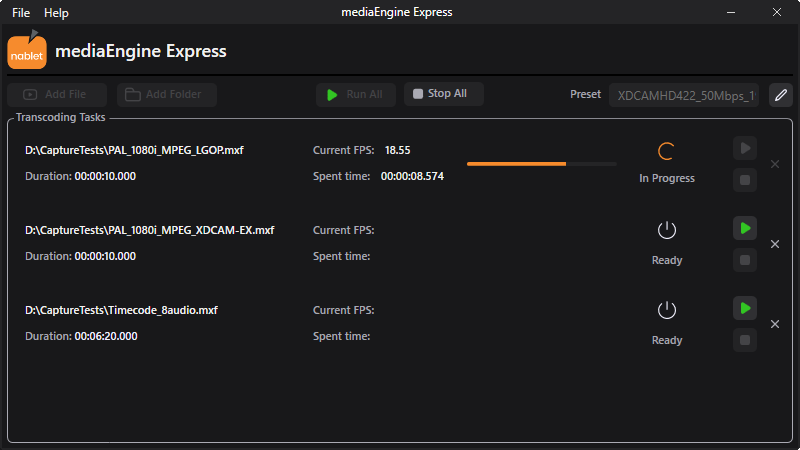
To stop the processing, press the Stop All button.